Notice
Recent Posts
Recent Comments
Link
| 일 | 월 | 화 | 수 | 목 | 금 | 토 |
|---|---|---|---|---|---|---|
| 1 | 2 | 3 | ||||
| 4 | 5 | 6 | 7 | 8 | 9 | 10 |
| 11 | 12 | 13 | 14 | 15 | 16 | 17 |
| 18 | 19 | 20 | 21 | 22 | 23 | 24 |
| 25 | 26 | 27 | 28 | 29 | 30 | 31 |
Tags
- OpenAIAPI
- konlpy
- HTML
- 사이킷런
- 파이썬
- fastapi #python웹개발
- 파이토치
- 파이썬웹개발
- chatGPT
- programmablesearchengine
- pandas
- 챗gpt
- langchain
- deeplearning
- MachineLearning
- fastapi
- 머신러닝
- sklearn
- fastapi #파이썬웹개발
- 판다스 데이터정렬
- 딥러닝
- 한빛미디어
- 랭체인
- 데이터분석
- 자연어분석
- NLP
- 비지도학습
- Python
- 판다스
- pytorch
Archives
- Today
- Total
Data Navigator
FastAPI로 이벤트 플래너 만들기 04 - DB 연결하기 본문
FastAPI로 이벤트 플래너 만들기 04
- DB 연결하기 -

지금까지 구현한 것들은 DB에 연결하지 않았기 때문에 서버를 재시작하면 데이터가 모두 사라졌다. 자료를 영구적으로 저장히기 위해서 데이터베이스를 연결하자.
1. sqlmodel 설치
pip 를 이용해 sqlmodel 라이브러리를 설치한다.
pip install sqlmodel
2. sqlmodel을 이용해서 sqlite 데이터베이스 만들고 연결하기
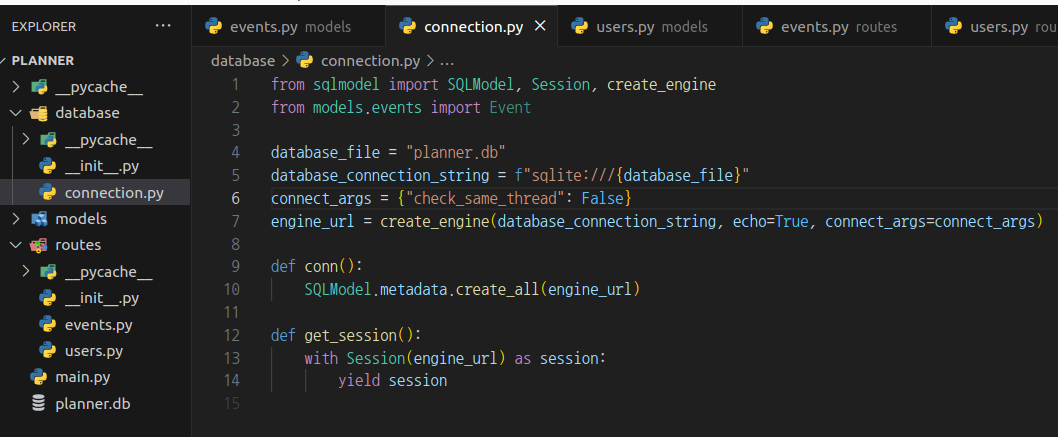
1) database/connection.py에 데이터베이스 및 테이블 생성을 위한 코드를 작성한다.
# database/connection.py
from sqlmodel import SQLModel, Session, create_engine
from models.events import Event

database_file = "planner.db"
database_connection_string = f"sqlite:///{database_file}"
connect_args = {"check_same_thread": False}
engine_url = create_engine(database_connection_string, echo=True, connect_args=connect_args)

def conn():
    SQLModel.metadata.create_all(engine_url)

def get_session():
    with Session(engine_url) as session:
        yield session
3. models/events.py에 정의한 Event클래스 변경
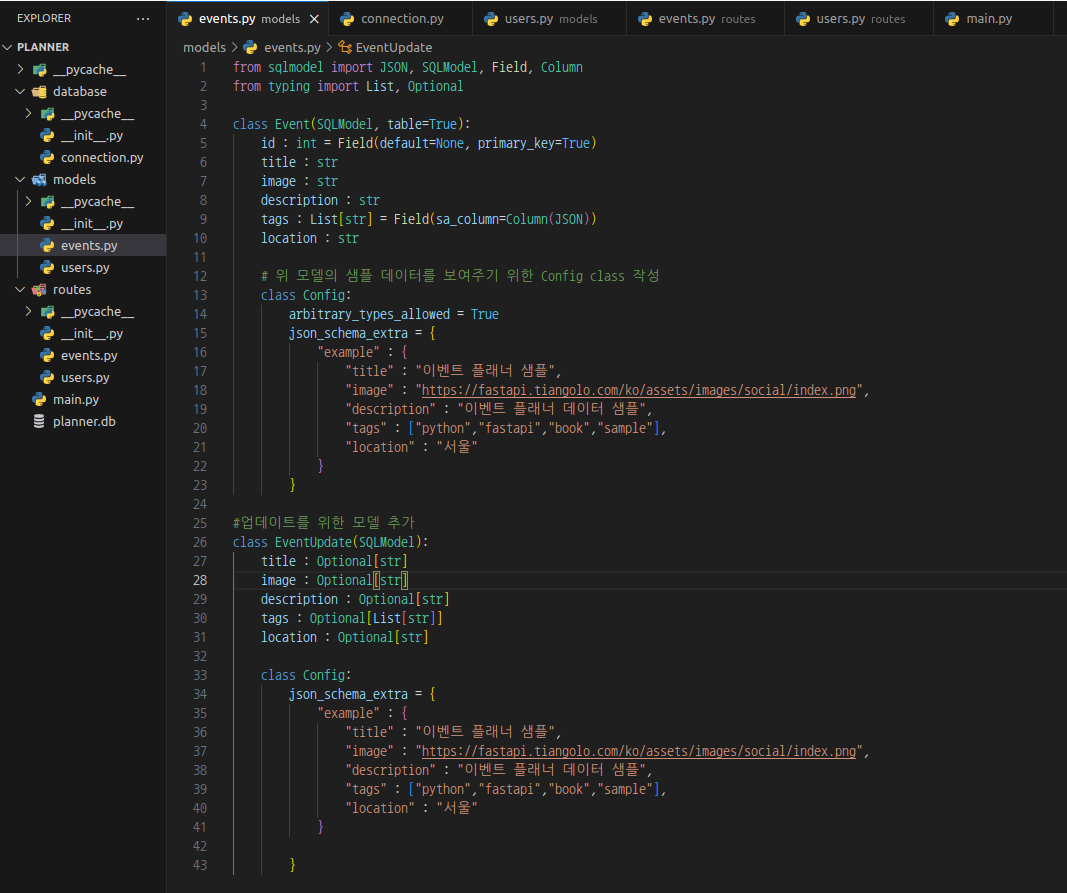
models/events.py에 정의한 Event클래스를 변경해서 SQLModel 테이블을 사용하도록 수정한다.
# models/enevts.py
from sqlmodel import JSON, SQLModel, Field, Column
from typing import List, Optional

class Event(SQLModel, table=True):
    id : int = Field(default=None, primary_key=True)
    title : str
    image : str
    description : str
    tags : List[str] = Field(sa_column=Column(JSON))
    location : str

    # 위 모델의 샘플 데이터를 보여주기 위한 Config class 작성
    class Config:
        arbitrary_types_allowed = True
        json_schema_extra = {
            "example" : {
                "title" : "이벤트 플래너 샘플",
                "image" : "https://fastapi.tiangolo.com/ko/assets/images/social/index.png",
                "description" : "이벤트 플래너 데이터 샘플",
                "tags" : ["python","fastapi","book","sample"],
                "location" : "서울"
            }
        }
4. update 처리를 위한 EventUpdate 모델 추가
위에서 수정한 Event 클래서 아래에 update 처리를 위한 EventUpdate 모델을 추가한다.
# models/events.py
#업데이트를 위한 모델 추가
class EventUpdate(SQLModel):
    title : Optional[str]
    image : Optional[str]
    description : Optional[str]
    tags : Optional[List[str]]
    location : Optional[str]

    class Config:
        json_schema_extra = {
            "example" : {
                "title" : "이벤트 플래너 샘플",
                "image" : "https://fastapi.tiangolo.com/ko/assets/images/social/index.png",
                "description" : "이벤트 플래너 데이터 샘플",
                "tags" : ["python","fastapi","book","sample"],
                "location" : "서울"
            }

        }
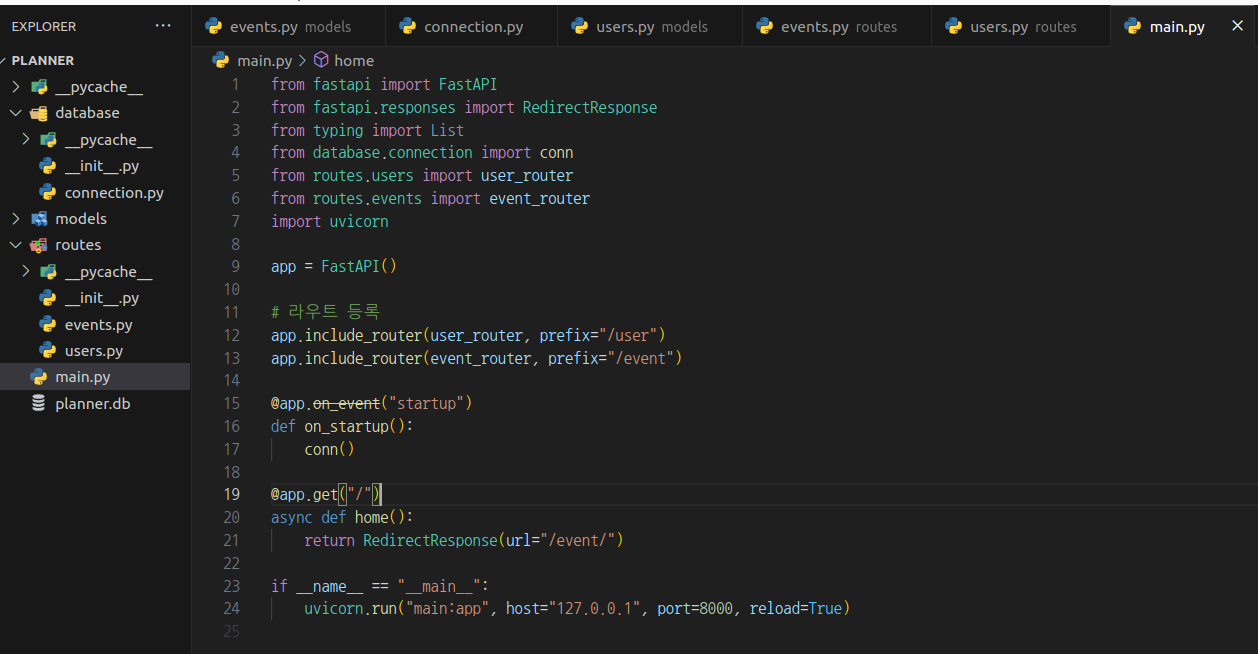
5. main.py를 애플리케이션이 시작될 때 DB를 생성하도록 수정
# planner/main.py
from fastapi import FastAPI
from fastapi.responses import RedirectResponse
from typing import List
from database.connection import conn
from routes.users import user_router
from routes.events import event_router
import uvicorn

app = FastAPI()

# 라우트 등록
app.include_router(user_router, prefix="/user")
app.include_router(event_router, prefix="/event")

@app.on_event("startup")
def on_startup():
    conn()

@app.get("/")
async def home():
    return RedirectResponse(url="/event/")

if __name__ == "__main__":
    uvicorn.run("main:app", host="127.0.0.1", port=8000, reload=True)
6. 데이터베이스 생성 테스트
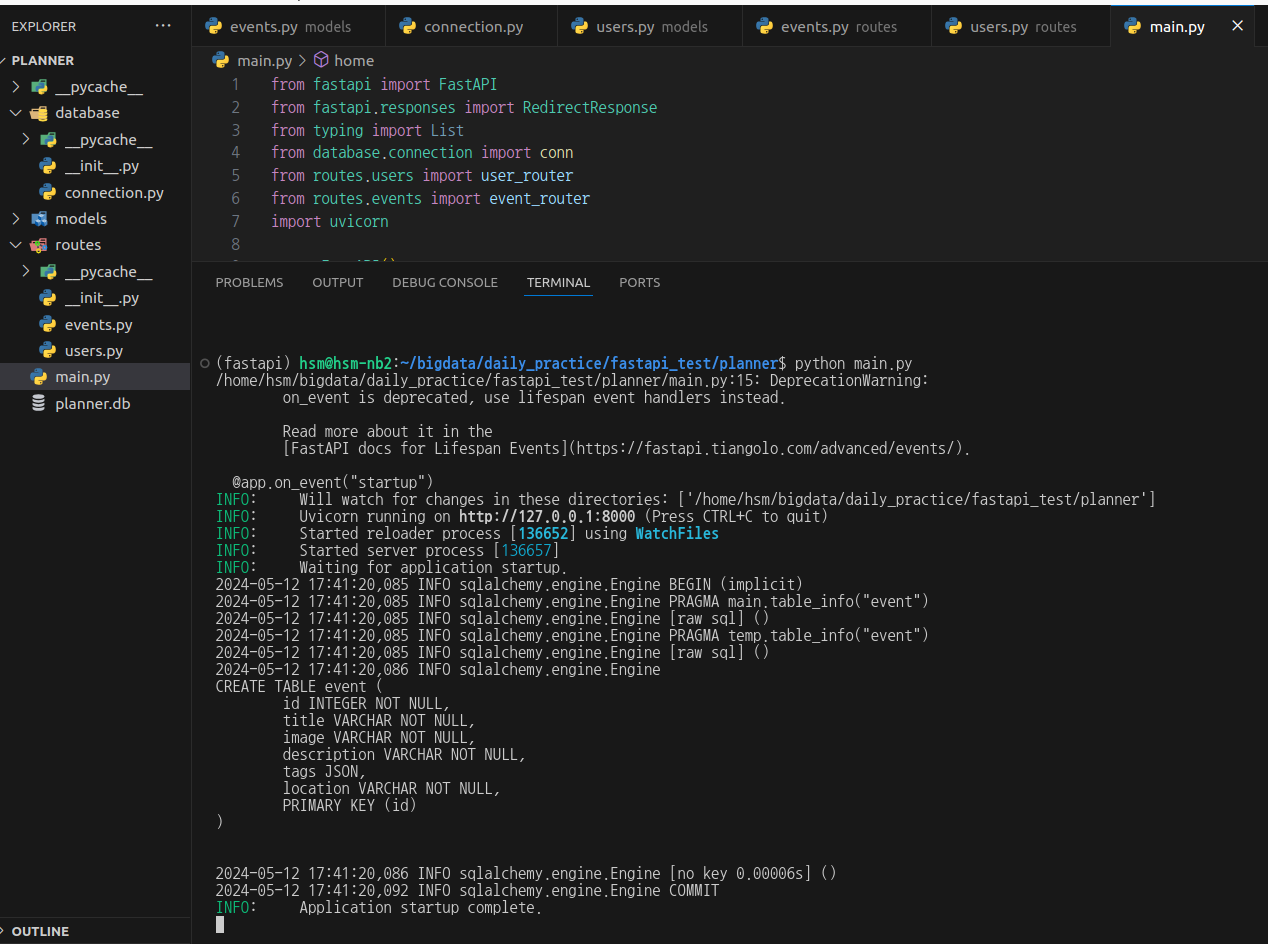
main.py 내용 수정을 마치면 터미널에서 python main.py를 실행해 서버를 구동하자.
python main.py

서버가 구동되면서 데이터베이스 생성 메세지가 출력되면서 planner.db 파일이 만들어지면 성공이다.
출처: 아데시나, 압둘라지즈 압둘라지즈. FastAPI를 사용한 파이썬 웹 개발. 번역 김완섭. 한빛미디어, 2023
'FastAPI' 카테고리의 다른 글
| FastAPI로 이벤트 플래너 만들기 05 - 이벤트 CRUD 구현 - (0) | 2024.05.13 |
|---|---|
| FastAPI로 이벤트 플래너 만들기 03 - 라우트 구현 - (0) | 2024.05.12 |
| FastAPI로 이벤트 플래너 만들기 02 - 모델 구현 - (0) | 2024.05.12 |
| FastAPI로 이벤트 플래너 만들기 01 - 환경설정 및 기본 구조 생성 - (0) | 2024.05.12 |
| FastAPI 설치 환경 세팅 및 간단한 테스트 웹 만들기10 - home.html, todo.html 만들기 (0) | 2024.05.12 |


